HOW TO
Start with the result you want.
Five things people actually need to do in the Windows app, with the screen and the field names for each.
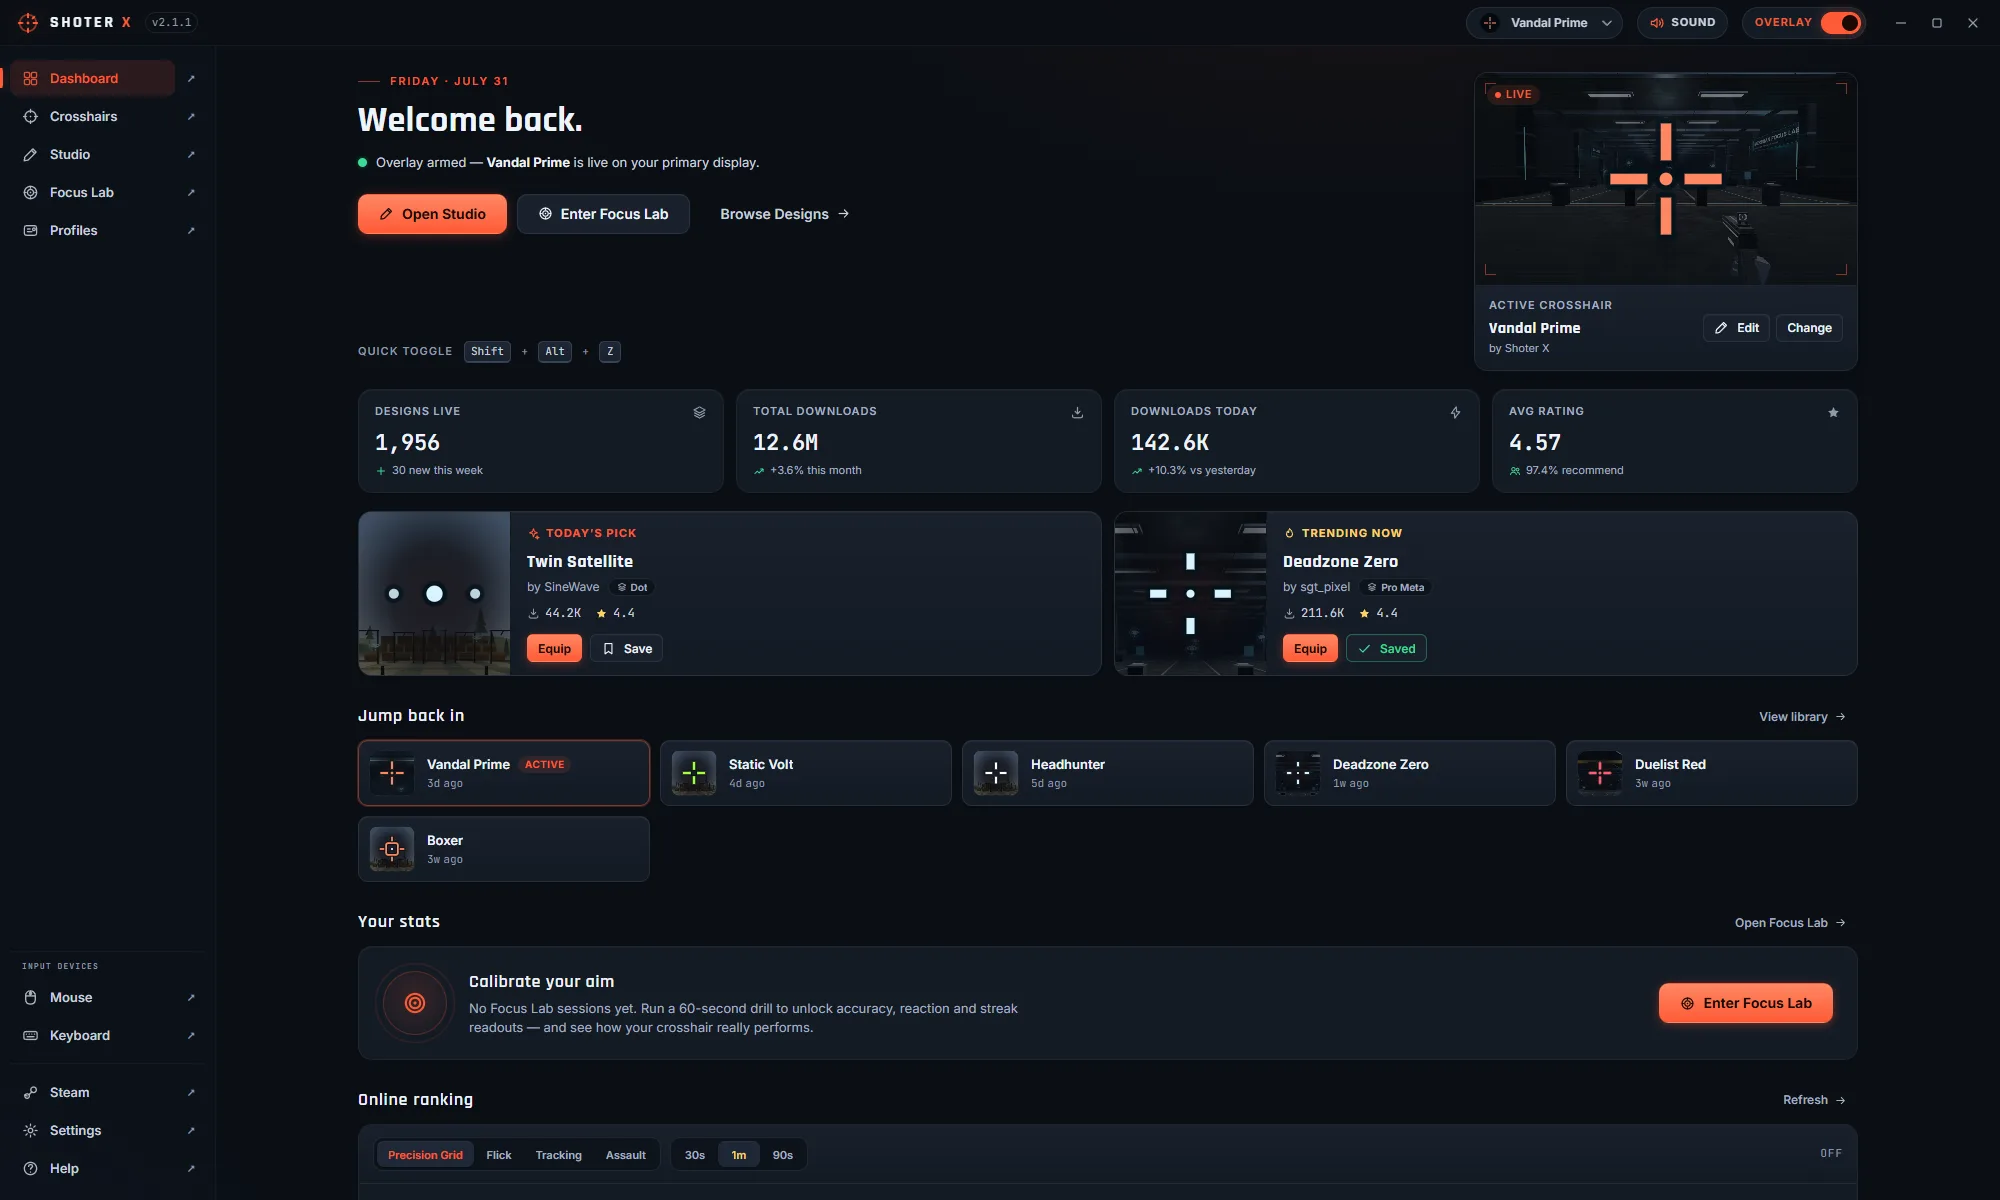
Import a crosshair from an SX2 code
Every code on this site and in the community catalog is a complete design. Importing one never overwrites anything you already saved.
Crosshairs → Import tab- 1Copy a code from the crosshair library or a community card. It always starts with SX2-.
- 2In Shooter X, open the Crosshairs page and switch to the Import tab.
- 3Paste into the “Paste a share code…” field. The app decodes it and shows a preview before anything is saved.
- 4Confirm to add it to your saved library, then open it in the Studio if you want to change it.
Set up a per-game profile
A profile ties one crosshair to one game, so switching games switches the reticle instead of you rebuilding it.
Profiles → New profile- 1Profiles → New profile, then fill in Game name — e.g. “Counter-Strike 2”.
- 2Pick an Icon so the profile is recognisable in the list at a glance.
- 3Choose the Crosshair from your saved library.
- 4Choose a Display mode: Desktop Overlay draws on top of the screen; Game Bar uses the Windows game bar surface.
- 5Pick the Monitor the game runs on (Primary, Display 2, Display 3).
- 6Add Notes if the profile only makes sense in context — “scoped playstyle, small dot only”.
- 7Save. Enable or disable the profile from the list without deleting it.
Put the crosshair on screen
The overlay is separate from the profile: the profile decides which design, the overlay settings decide where it lands.
Settings → Overlay, and Settings → Position & Size- 1Settings → Overlay: turn the overlay on and decide whether it should show only while a game is focused.
- 2Settings → Position & Size: nudge the overlay X/Y and size multiplier if your game does not centre its own aim point.
- 3The Studio preview and the overlay use the same renderer, so what you designed is what lands on screen.
Connect a ranking server
Focus Lab scores stay local until you point the app at a server. The same address serves the community crosshair exchange.
Settings → Online Services- 1Settings → Online Services, then switch on Online ranking to share Focus Lab scores.
- 2Enter the Leaderboard server URL — an https:// address for a hosted server, or http://127.0.0.1:47811 for one running on your own machine.
- 3Set the Player name that should appear on the board.
- 4Only ranked mode-and-duration combinations upload. The 30-minute session and the untimed free range never do.
Quiet it down
Two separate controls, because muting the app and muting the range are different intentions.
Settings → Interface, and Settings → Focus Lab- 1Settings → Interface: the app-wide mute silences every Shooter X sound and persists between sessions.
- 2Settings → Focus Lab: range volume, sensitivity, field of view and render quality apply to training sessions only.
QUICK ANSWER
The website hands out codes. The app does the work.
Browsing, copying a code and reading the rankings happen here. Editing a design, drawing it over a game and running a training session happen in the Windows app. Nothing on this site can reach your installation.